Getting Your Data into Partek Flow and Creating New Projects
It is important to note that there are multiple folders in question on the partek server. Where you place your files can determine whether or not other users of the system (currently limited to HIRN investigators) can have access to your sample data or project output.
The Three Important Folders
1. /home/flow/DataDir/ProjectTemp (known henceforth as /ProjectTemp, visible to EVERYONE)
2. /home/flow/DataDir/userhome (known henceforth as /userhome, visible to YOU ONLY)
3. /home/flow/DataDir/userproject (known henceforth as /userproject, visible to YOU ONLY)
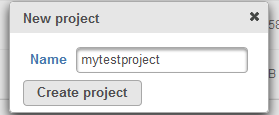
Step 1: Create New Project
Select the green create project button and give your project a name.
Step 2: Create a Folder For Your Project
By default, Partek Flow creates a project folder for you under /ProjectTemp. If you wish for your project (and the files contained within) to be truly private, you will need to create a new folder for your project.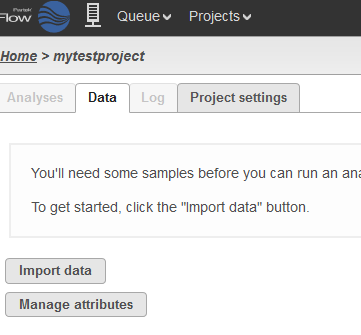
Select the "Data" tab.
Select "Import data".
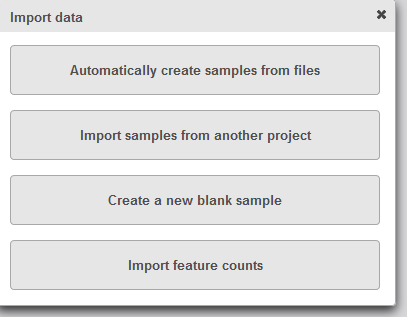
Select "Automatically create samples from files"
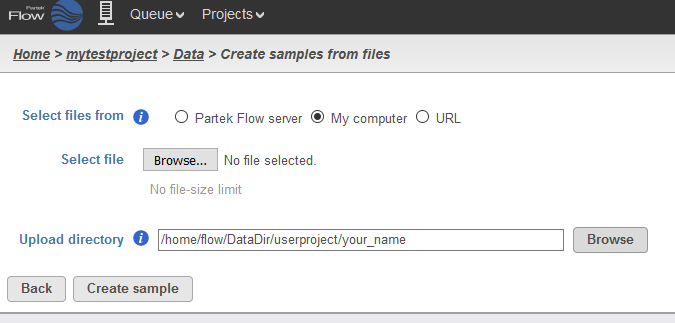
Select the "My Computer" radio button under the section: "select files from"
Next to upload directory, click on the "browse" button. This will show a directory tree of the file structure on the partek server.
Navigate to your personal folder under userproject (/flow/DataDir/userproject/your_name). For example if your login name was john_smith, your userproject home folder would be /flow/DataDir/userproject/john_smith.
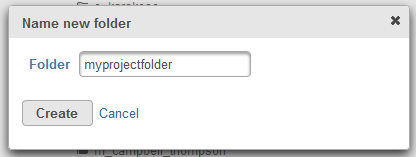
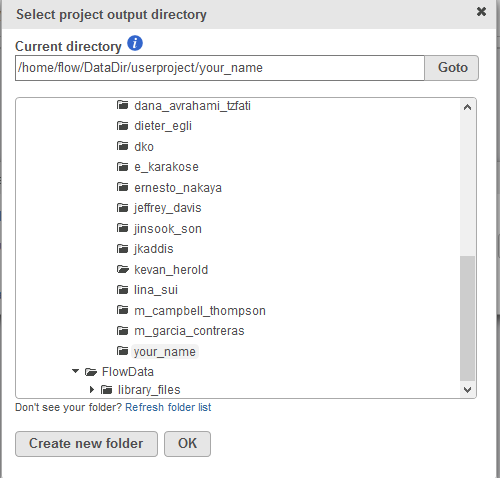
Select your folder and click on the "create new folder" button. Give a unique name for your project. Remember this folder because we will need to specify it again in a subsequent step.
Step 3: Import Your Data
For Files less than 1GB
For smaller files less than 1GB each, you can upload through your browser using the Partek Flow Web interface. On occasion, the quality of your internet connection can cause uploads to cancel unexpectedly. For those situations, we recommend you use the FTP option.Select the "Data" tab.
Select "Import data".
Select "Automatically create samples from files"
Select the "My Computer" radio button under the section: "select files from"
Once again, click the browse button and make sure you select the folder you previously created.
Once you have the correct folder selected, upload the sample files from your computer.
For Files Greater than 1GB (or if you have a less reliable internet connection)
For larger files or if you require a more reliable connection, please use the secure FTP upload option. Please see our SFTP guide here: https://hirnwiki.azurewebsites.net/wiki/3/sftp-instructions. Files you upload via SFTP will show up in the userhome folder. Navigate to your own folder under /userhome and select the samples you wish to import.
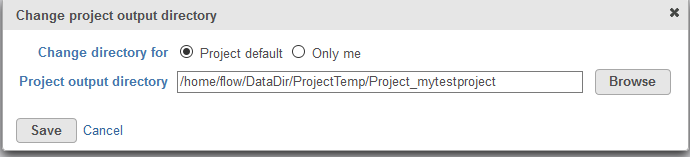
Step 4: Changing the default project folder - important
Again, this is important if you want your files to be private.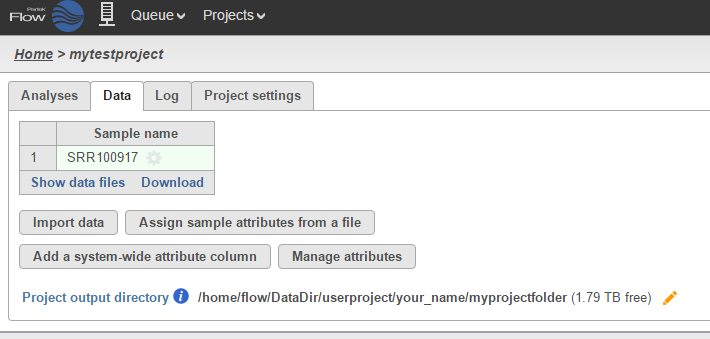
Once you have imported 1 or more sample files, under the "Data" tab a "project output directory" option will become available. Click on the pencil (edit) icon and select the folder you had created in Step 2.